Using the campaign calendar: viewing, filtering, and creating campaigns
The Campaign Calendar in Sendigram helps you plan, manage, and track all your email campaigns in one place. It provides a visual overview of scheduled, in-progress, and completed campaigns, making it easier to coordinate marketing activities.
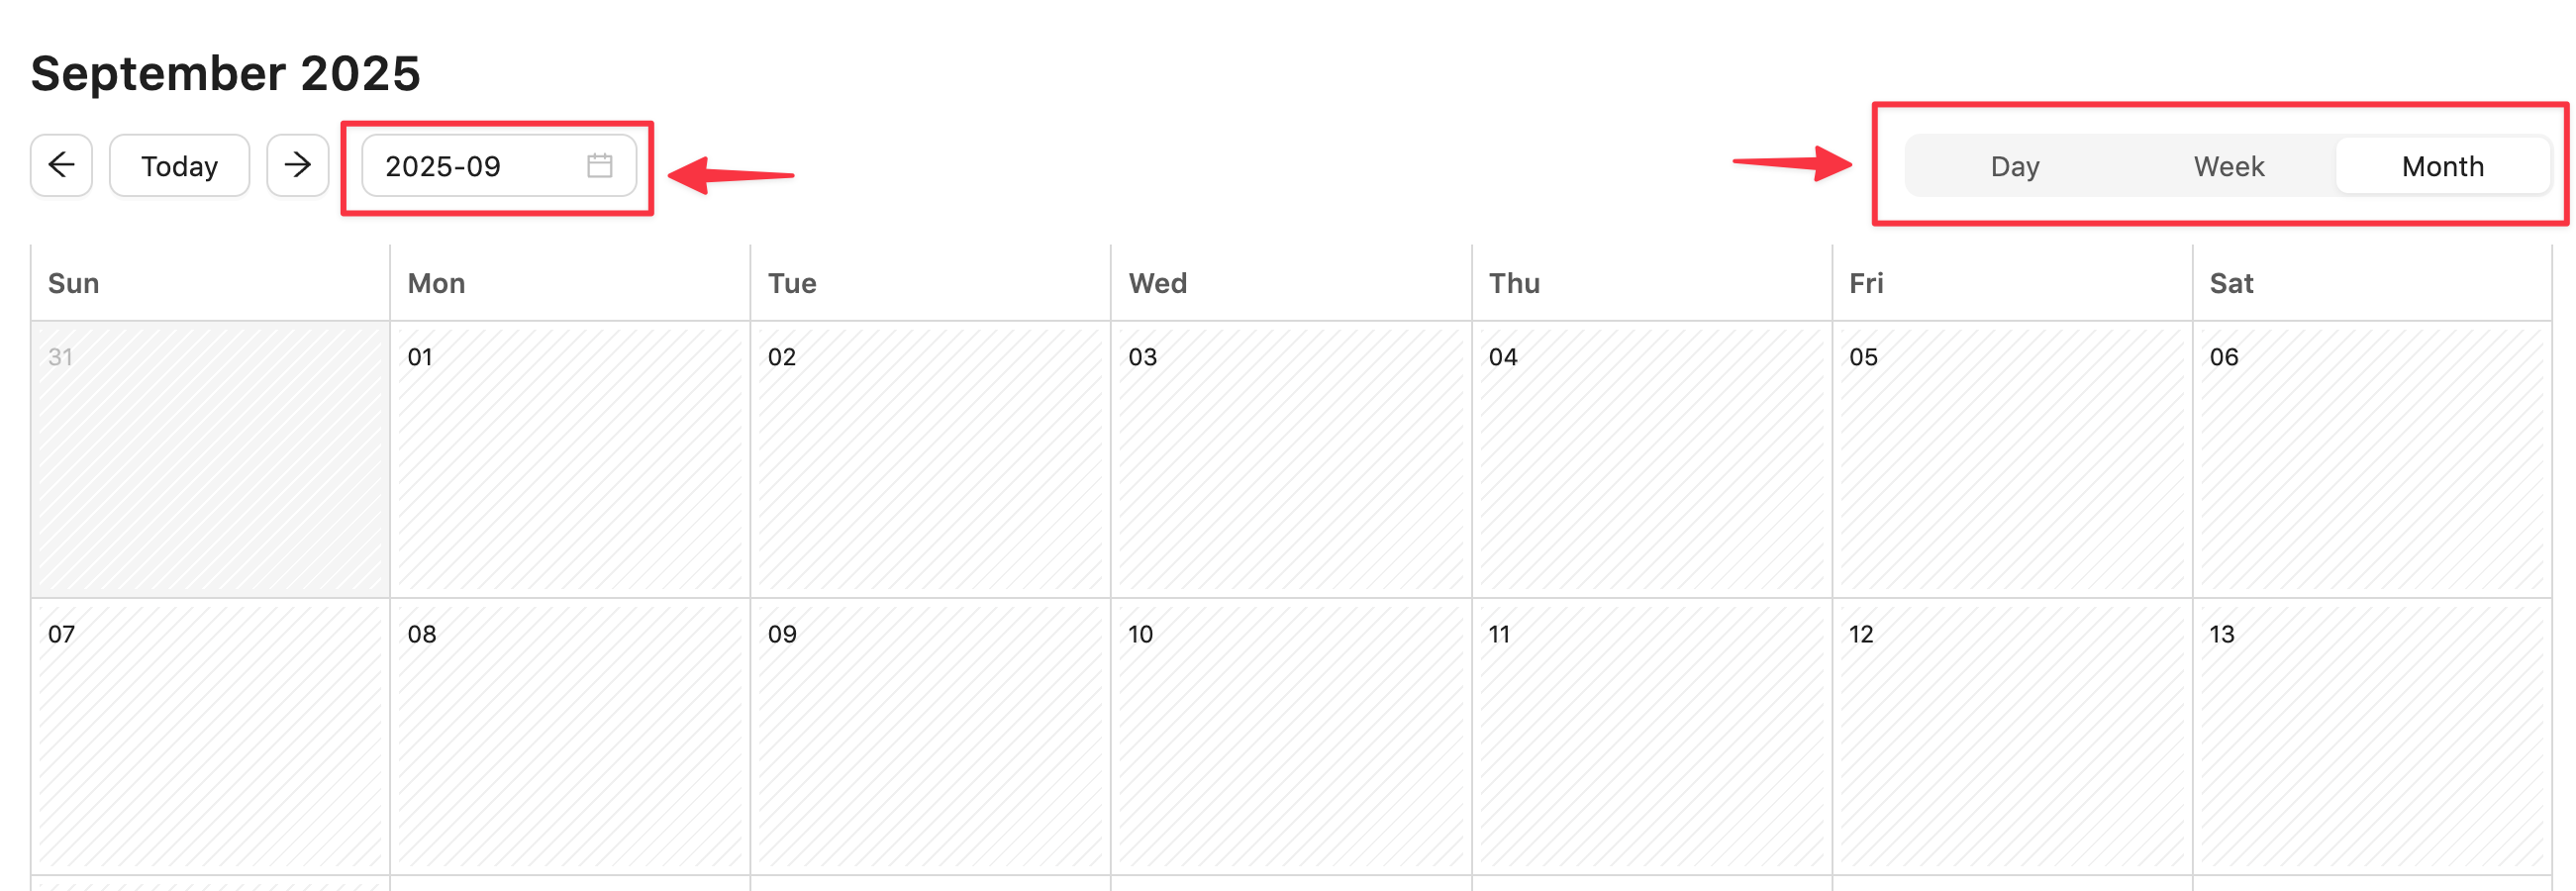
1. Viewing the Campaign Calendar
- Go to Campaigns → Calendar from the main navigation.
- Choose your preferred view:
- Monthly view – see all campaigns for the month.
- Weekly view – focus on upcoming campaigns.
- Daily view – review campaigns scheduled for a specific day.
- Specific date range view – click on the date range view selector in the data range field.
- Hover over a campaign to see quick details (name, send time, audience).
- Click a campaign to open its Campaign Card for full editing or reporting.
2. Creating Campaigns from the Calendar
- In the calendar, click on the date you want to schedule a campaign.
- Select Create Campaign.
- Fill in the General details (name, subject line, sender).
- Add recipients, design your template, and configure the Scheduler.
- Save or schedule the campaign directly from the calendar.
3. Benefits of the Campaign Calendar
- Organization – visualize your sending schedule to avoid overlaps.
- Team coordination – see what other users are planning or running.
- Efficiency – create and schedule campaigns directly without switching views.
- Strategic planning – spot gaps or heavy sending days at a glance.
Still have questions?