Home
Help Center
Email Marketing Service
Email Campaigns
How to set up the sender email address and name
Understanding domain statuses: Verified, Processing, Unverified
Managing sending domains
Why DNS records matter for email deliverability
Adding & verifying DNS records (SPF, DKIM, DMARC)
Checking & resolving domain blacklist issues
Managing sender email addresses
Sender address requirements and best practices
What to do if a sender address is in use by active campaigns
Understanding shared vs. dedicated IP addresses
Connecting or disconnecting a domain to/from an IP address
Buying & managing dedicated IP addresses
User roles & statuses
User status explained: active and deleted users
How to add a new user: user invitations and registration
Managing user permissions and access rights
Default permissions for additional users
Deleting users
Transferring admin rights to another user
What happens after admin rights are transferred?
What happens when permissions are disabled for a user?
How to create your first email campaign
Campaign card overview: General, Contacts, Email template, Scheduler
Naming and renaming campaigns
Understanding campaign statuses: Waiting, In progress, Paused, Finished
Saving progress and navigating between campaign blocks
How to set up the sender email address and name
Managing reply-to addresses in campaigns
Selecting and managing IP addresses for sending
How to select recipients: Contacts, Groups, Segments
Excluding contacts and groups from a campaign
Understanding contact limits and subscription packages
What to do if you exceed your email sending limit
Validating contacts before sending: Email Checker explained
Choosing and editing email templates for campaigns
Uploading custom HTML
Writing effective subjects and preheaders
Adding and managing UTM parameters
Scheduling campaigns: send now or later
Setting up delivery dates, times, and days of the week
How to calculate and adjust sending volume over time
Managing dedicated IP expiration and renewal
How to preview and test your campaign
Managing and editing your test email group
Using the campaign calendar: viewing, filtering, and creating campaigns
Understanding campaign statuses: Active, Scheduled, Completed
Viewing campaign details and quick actions from the calendar
Navigating the campaign list: columns and filters
Searching and filtering campaigns by name, date, and status
Campaign card: overview, timeline, and audience
How to pause, continue, or delete a campaign
Understanding campaign statuses: Planned, Active, Paused, Finished
Campaign performance & analytics
Using heatmaps to analyze email engagement
Automations
Creating a New Automation
Understanding Automation Templates
Managing Your Automations List
Automation Builder: Overview and Navigation
Setting Up Automation Details (Name, Description, Tags)
Working with Triggers
Working with Actions
Managing Elements in the Workflow Canvas
Running and Pausing Automations
Automation Settings Panel
Managing Emails and Templates Inside Automations
Contact Management Inside Automations
How to set up the sender email address and name
Your sender email address and name are the first things your subscribers see when they receive your emails. Configuring them correctly helps build trust, improves open rates, and ensures proper deliverability.
1. What Are the Sender Email Address and Name?
- Name of sender – the display name shown in the recipient's inbox (e.g., Acme News, John from Acme).
- Sender email address – the actual email used to send the message (e.g., newsletter@acme.com).
Both appear together like this in most inboxes:
📌 Acme News <newsletter@acme.com>
2. Requirements
- The email must belong to a verified sending domain in your Sendigram account.
- Only business domains are accepted—such as info@yourcompany.com.
- The address must be active — replies should go to a monitored inbox.
3. Setting Up the Sender Address and Name of the sender
You have two ways to set up your sender address and name of the sender.
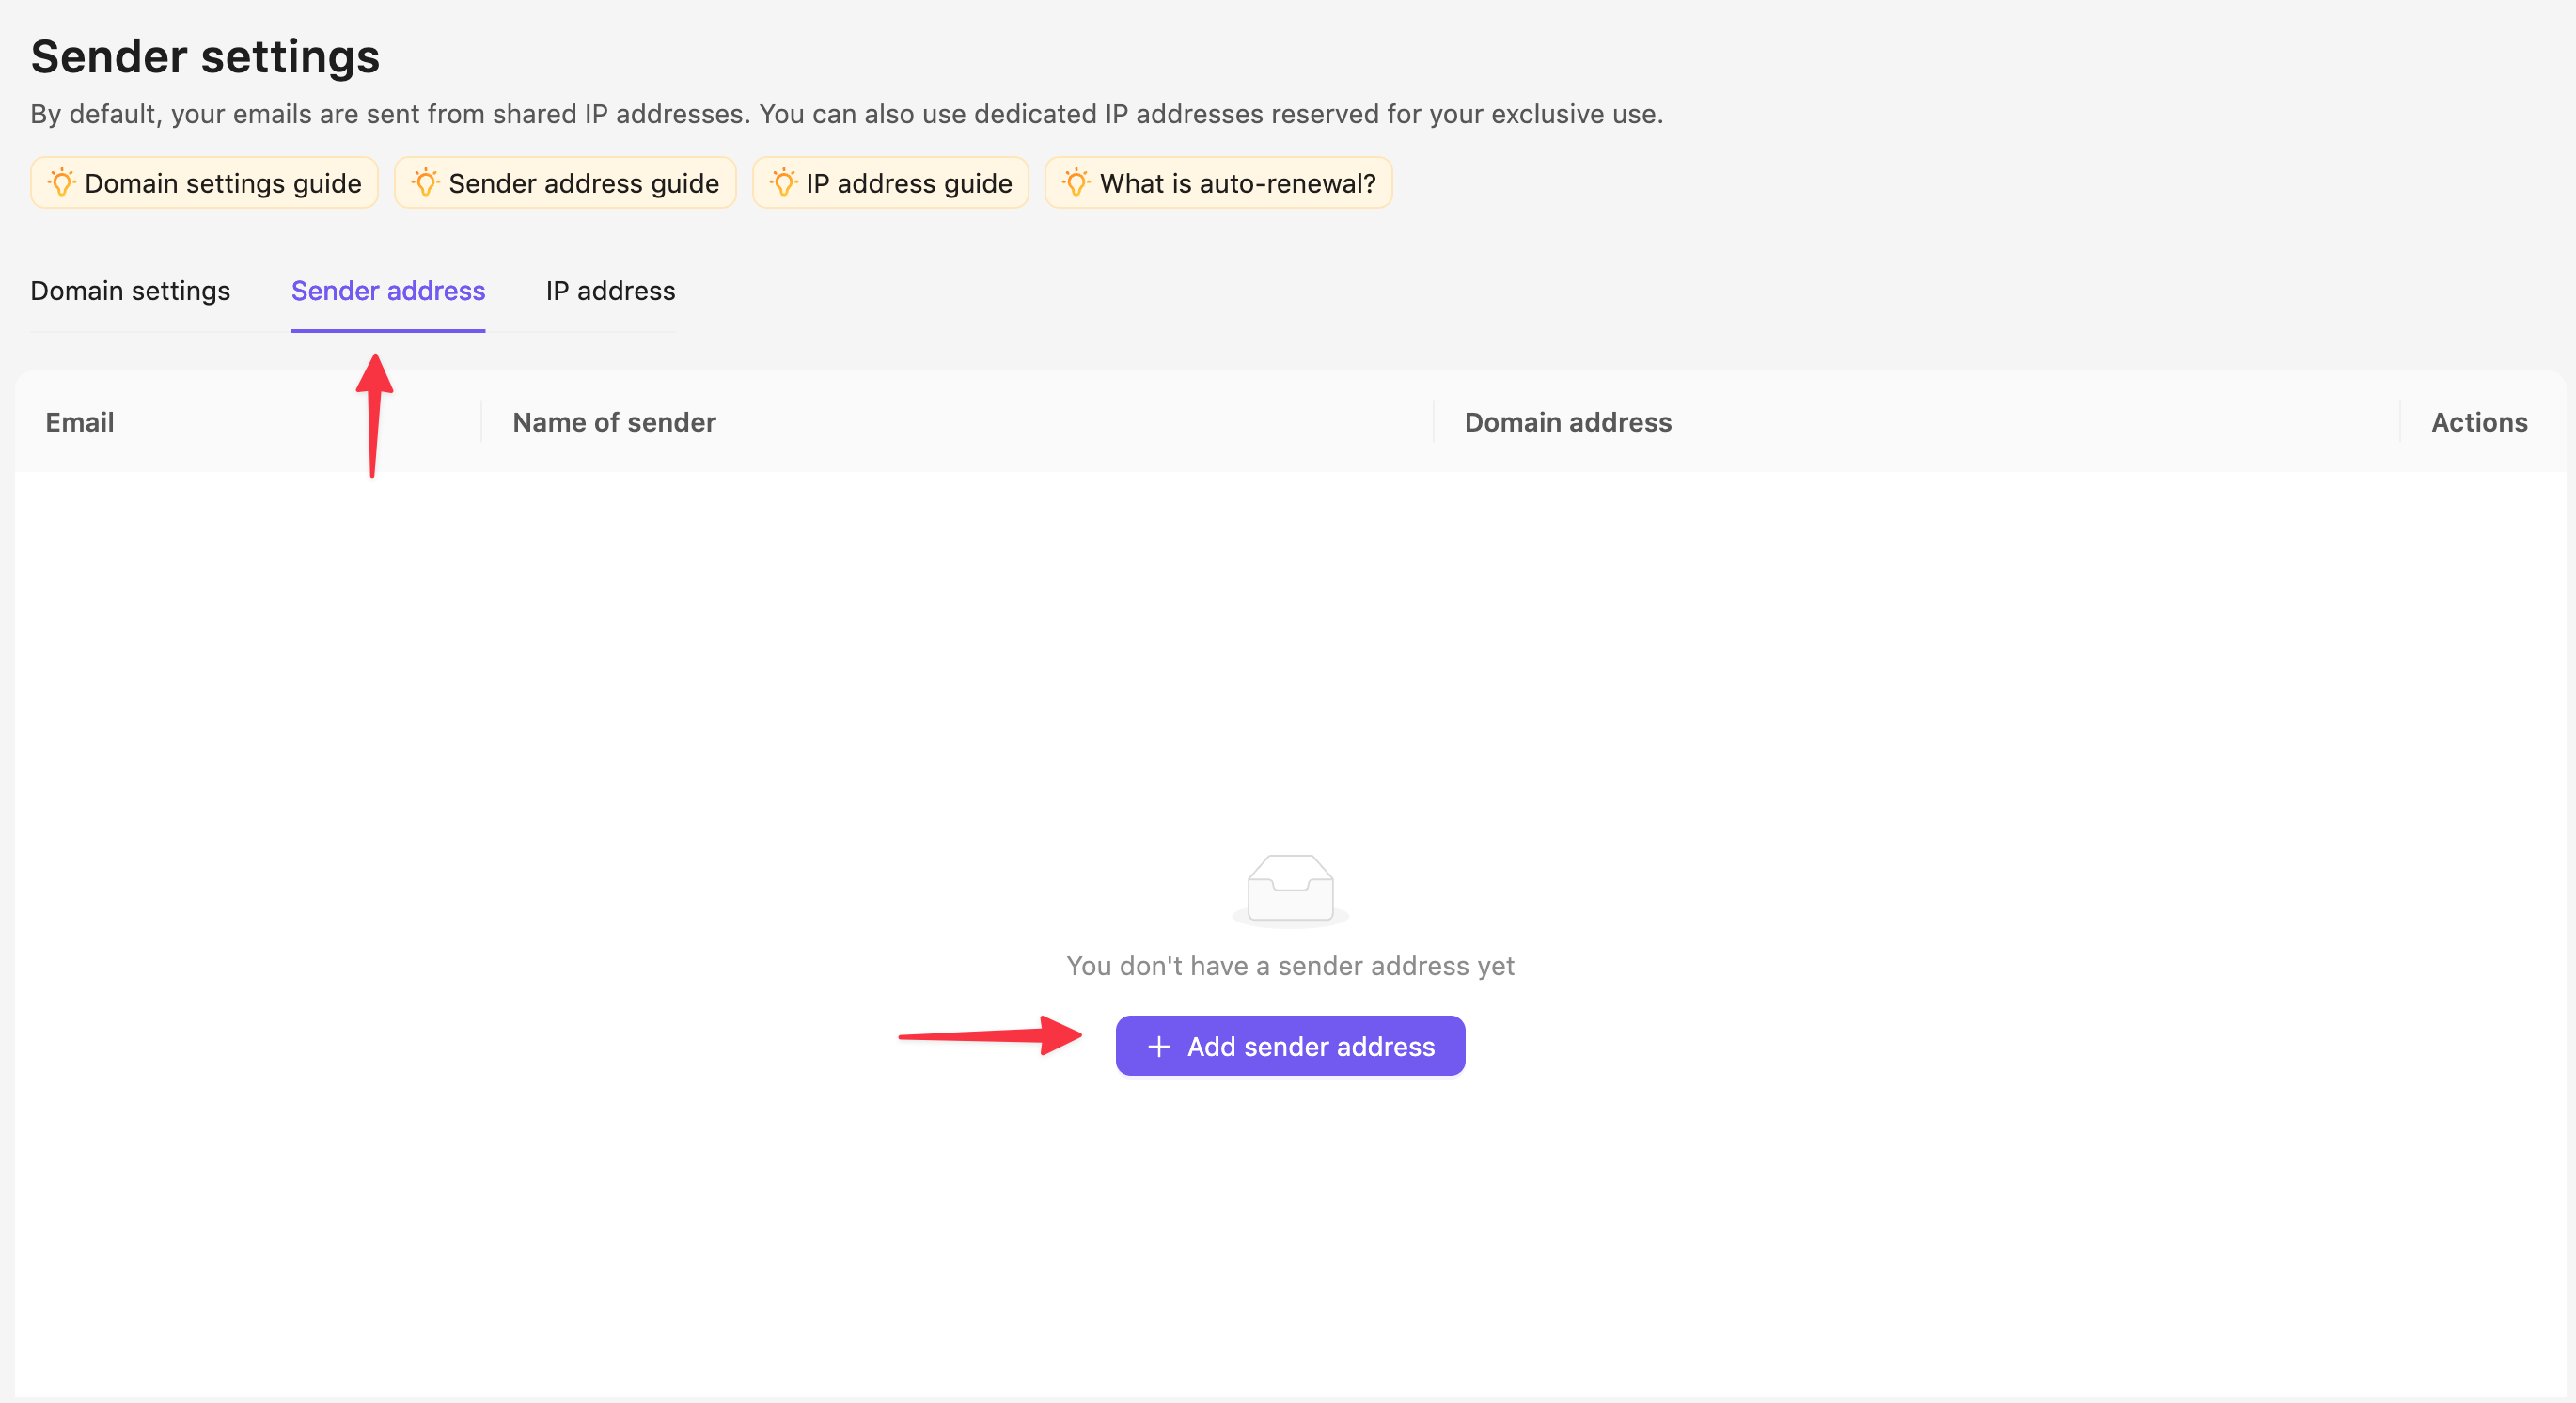
A. From the settings menu:
- Go to Sender Settings → Sender address.
- Click the button Add sender address
- Enter your Sender email address and name of sender
- Choose your Domain address from the dropdown list
- Click Save
B. When creating or editing a campaign:
- In the General block of the Campaign Card, select the Name of sender and Sender email address.
- Enter from your verified sender identities.
- Save your choice.
Still have questions?