Buying & managing dedicated IP addresses
Buying Dedicated IPs
Dedicated IPs are available only to paid plans user.
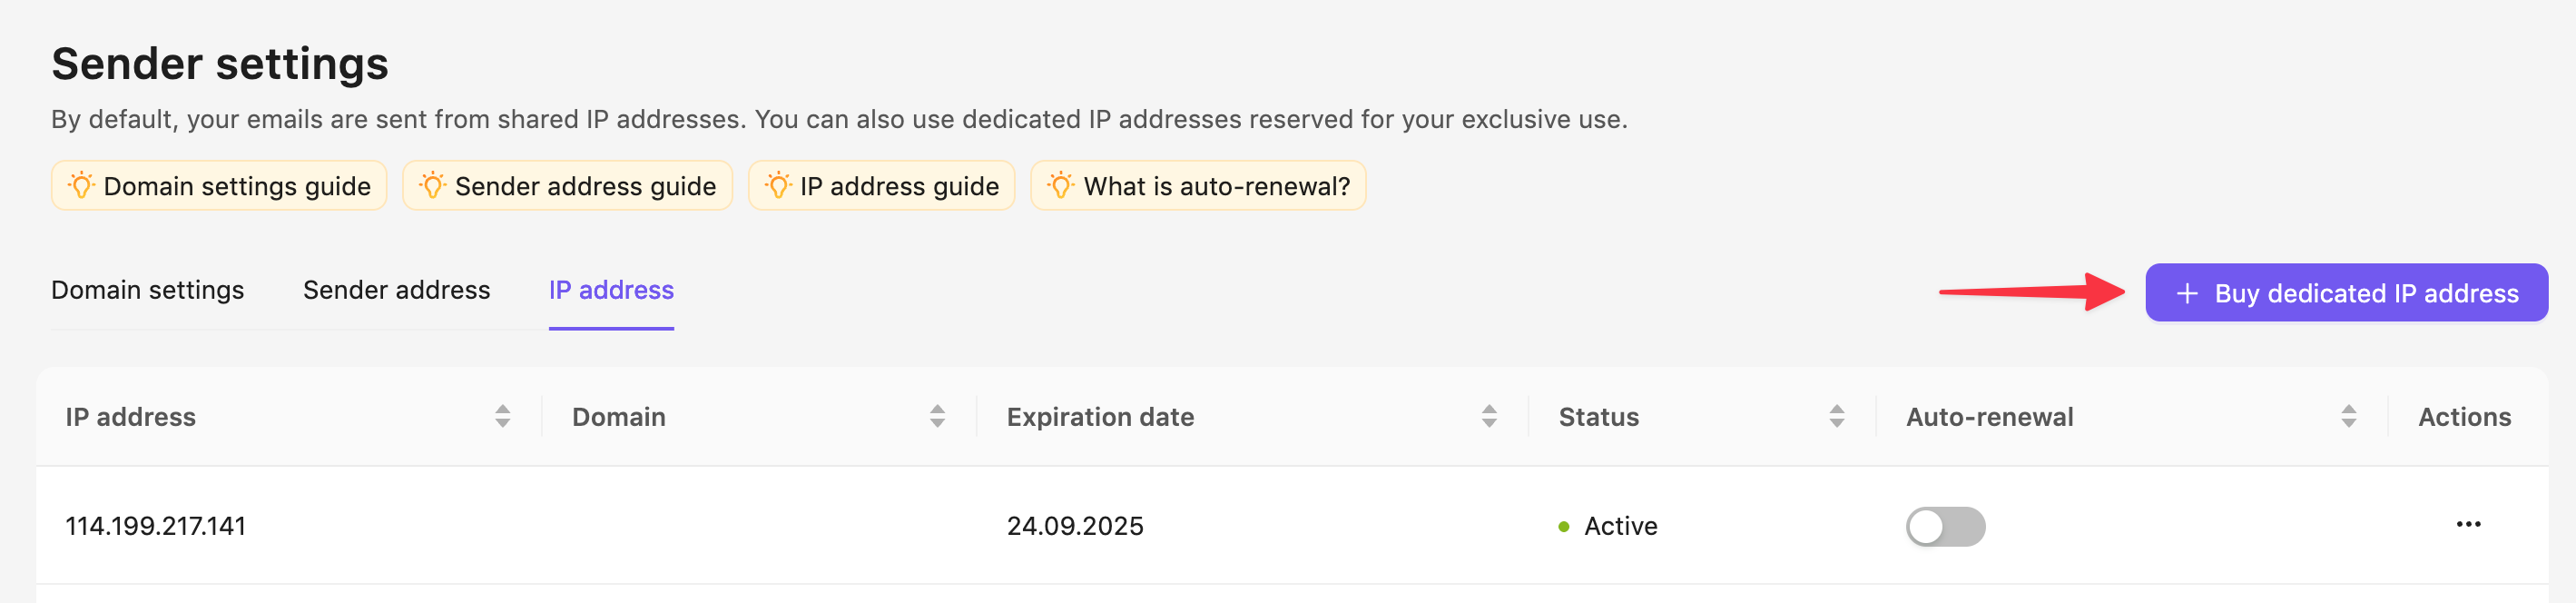
In order to purchase a new dedicated IP
- Go to Your Profile → Sender Settings → IP address.
- Click Buy a dedicated IP button in the upper-right corner
- Choose the amount of dedicated IPs you want to purchase
- Click Buy—it will take you to the payment process
Setting up Auto-Renewal for Dedicated IPs
If you use a dedicated IP in Sendigram, it's important to keep it active to maintain your sender reputation. To prevent interruptions, you can enable auto-renewal so your IP is automatically renewed before it expires.
1. Why Auto-Renewal Matters
- Continuous reputation: A dedicated IP builds trust over time. If it expires, you lose that reputation and must start over.
- Uninterrupted sending: Without a valid IP, your campaigns may stop sending or revert to shared IPs.
- Convenience: Auto-renewal ensures you don't have to remember renewal dates.
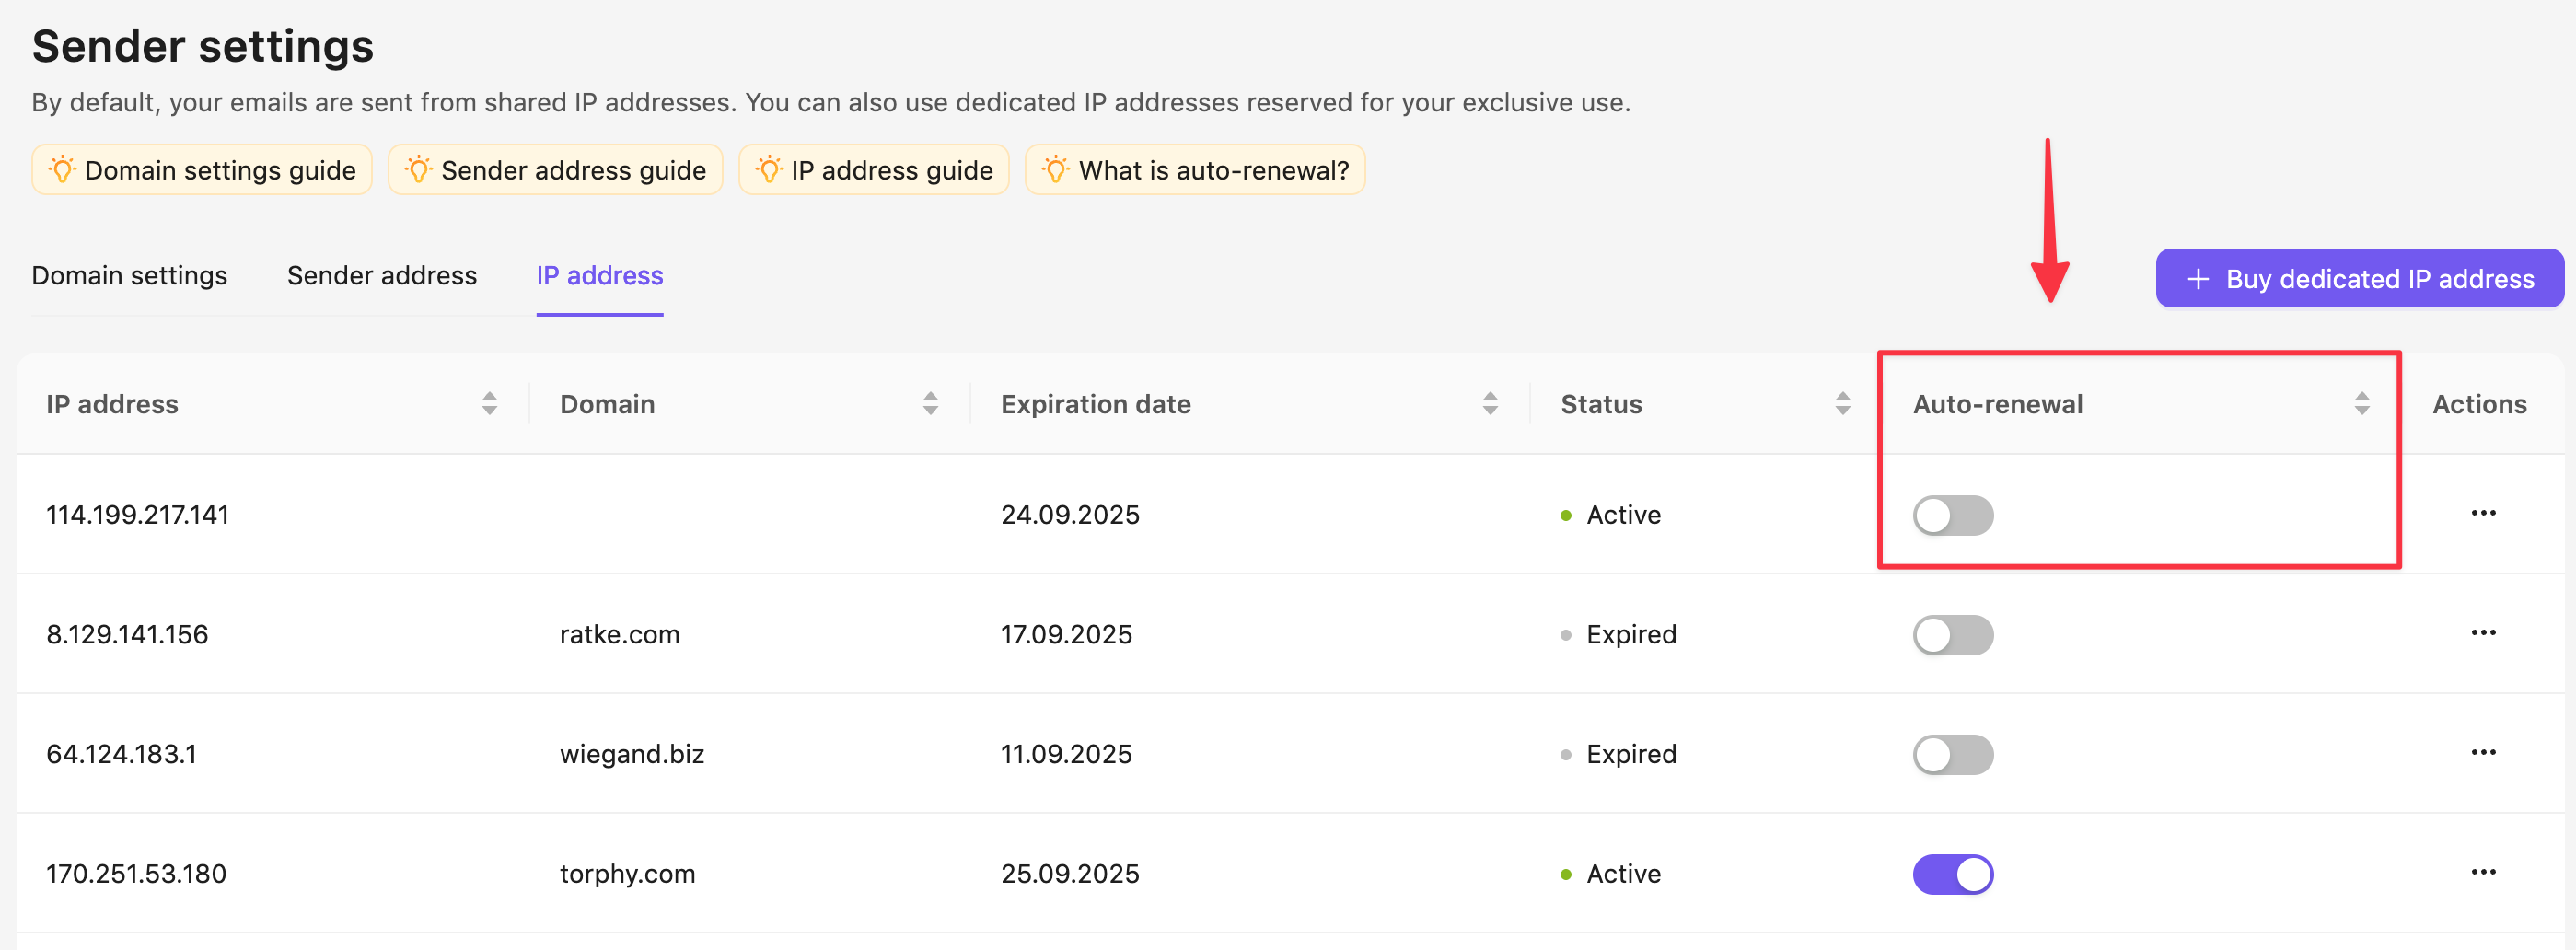
2. How to Enable Auto-Renewal
- Log in to your Sendigram account.
- Go to Your Profile → Sender Settings → IP address.
- Turn on the Auto top-up option in the bottom-right corner of the Your Plan card.
3. How Auto-Renewal Works
- The system renews your dedicated IP automatically before the expiry date (e.g., 1–3 days prior).
- The renewal fee is charged to your saved payment method.
- You will receive an email confirmation after each successful renewal.
4. Managing Auto-Renewal Settings
- You can change your auto-renewal preference anytime in Your Profile → Sender Settings → IP address.
- To disable auto-renewal, toggle the setting OFF — your IP will then expire at the end of the billing cycle unless manually renewed.
- If your payment method fails, you'll get a notification to update your details.
Renewing or deleting expired dedicated IP addresses
Dedicated IP addresses in Sendigram are tied to your subscription or package. If they expire, you need to decide whether to renew them to maintain deliverability or delete them if they're no longer needed.
1. What Happens When a Dedicated IP Expires
- Your campaigns may automatically switch to a shared IP (which can affect deliverability).
- The expired IP no longer accumulates sender reputation.
- If not renewed promptly, you may need to warm up a new IP from scratch.
2. Renewing an Expired Dedicated IP
- Log in to your Sendigram account.
- Go to Sender Settings → IP address.
- Find the expired IP in your list.
- Click Renew IP.
- Confirm payment to extend it for another billing cycle.
- Once renewed, your campaigns can resume using this IP with its previous reputation intact.
Once renewed, your campaigns can resume using this IP with its previous reputation intact.
3. Deleting an Expired Dedicated IP
If you no longer need the IP:
- Go to Sender Settings → IP address.
- Select the expired IP.
- Click Delete IP.
- Confirm deletion.
Important:
- Once deleted, the IP cannot be restored.
- If you later decide to purchase another dedicated IP, it will be a new address that requires warming up again.
Still have questions?